The Best Hikes in Zion: Guide to Zion National Park, Utah
- Margaux

- Feb 2, 2023
- 8 min read
Updated: Mar 15
Zion National Park is one of the most well-visited parks in the US, and during my visit it became very clear why. The scenery is absolutely stunning and the days I spent there were amongst the best of my road trip through Arizona, Utah, and Nevada. The good news is that it is extremely accessible if you do not have a car - in fact, the park doesn’t actually let private vehicles drive into the park, you have to use the shuttle buses instead. Not only is this more environmentally friendly, but budget friendly too! We spent five full days in Zion, but most people only spend 3, and that is what I would recommend, as none of the trails are very long. It would allow you to do all of the main hikes and a few shorter ones in the afternoons or evenings.
This blog post will tell you all about the best hikes in Zion, plus extra on how much to budget for your trip, how to get around the Park, and how to get there without a car.

Contents
What to Budget for Zion National Park
Like most of the US, the Springdale and Zion area is expensive, but it is possible to visit Zion without completely breaking the bank. The most budget-friendly accommodation costs around $60 a night for 2 people, and most places will include breakfast, although don’t expect anything gourmet! There is a small grocery store in Springdale where we bought all the food for our picnic lunches in the park, and there are loads of small convenience stores with delis in the town where you can get a sandwich or wrap. I would budget around $20 per day for food, but up to $50 if you decide to eat out in the town. The entry to the park costs $35 per day for up to 4 people, but if you have the America the Beautiful pass, a flat fee of $80 gets four people into an unlimited number of National Parks and Monuments for a whole year. It is definitely worth investing in if you’ll be staying more than a few days or visiting more than one park on your trip. If you visit Zion without a car, you will likely have arrived from the town of St George. A pre-booked Uber to your accommodation in Springdale will cost you around $110.

How to get to Zion National Park
We visited Zion without a car, as renting under the age of 25 is extremely expensive. How did we get to such a remote place without a car in the US? The day started in Salt Lake City, Utah, where we got on a 5 hour Flixbus journey to St George, the largest town near Springdale. The bus ride was very comfortable, with plenty of rest stops and opportunities to get food and drinks at services along the way. Anticipating high prices for the hour or so drive to Springdale, we pre-booked an Uber from the bus stop in St George and our lovely driver took us from there to our accommodation - Zion Pioneer Lodge. On the way back to St George, we had to call ahead and order a private taxi to take us from Springdale as, unsurprisingly, there weren’t any Ubers in the area.

The National Park Service (NPS) does not allow private vehicles to drive into Zion, and so has an excellent shuttle service which stops several times within the town of Springdale and ends at the park gate. Here, you have to show your park pass or pay the entry fee, head over a bridge, and get on the next shuttle which takes you into the park to each of the trailheads. The shuttles are very busy in the mornings and evenings, so be prepared to wait at these times. The map of the park that you can pick up at the entrance tells you which stop corresponds to which trailhead, and the driver will often tell you as well.

Within the Park, you will find flushing toilets and water bottle refill stations at several of the shuttle stops. Make sure to keep hydrated as it gets very hot in the summer and hiking will make you sweat! Hike in the early mornings and late afternoons to avoid the heat of the day (and the crowds!).
There is very little mobile service in the park, so make the most of being disconnected and enjoy nature!
The Best Hikes in Zion National Park
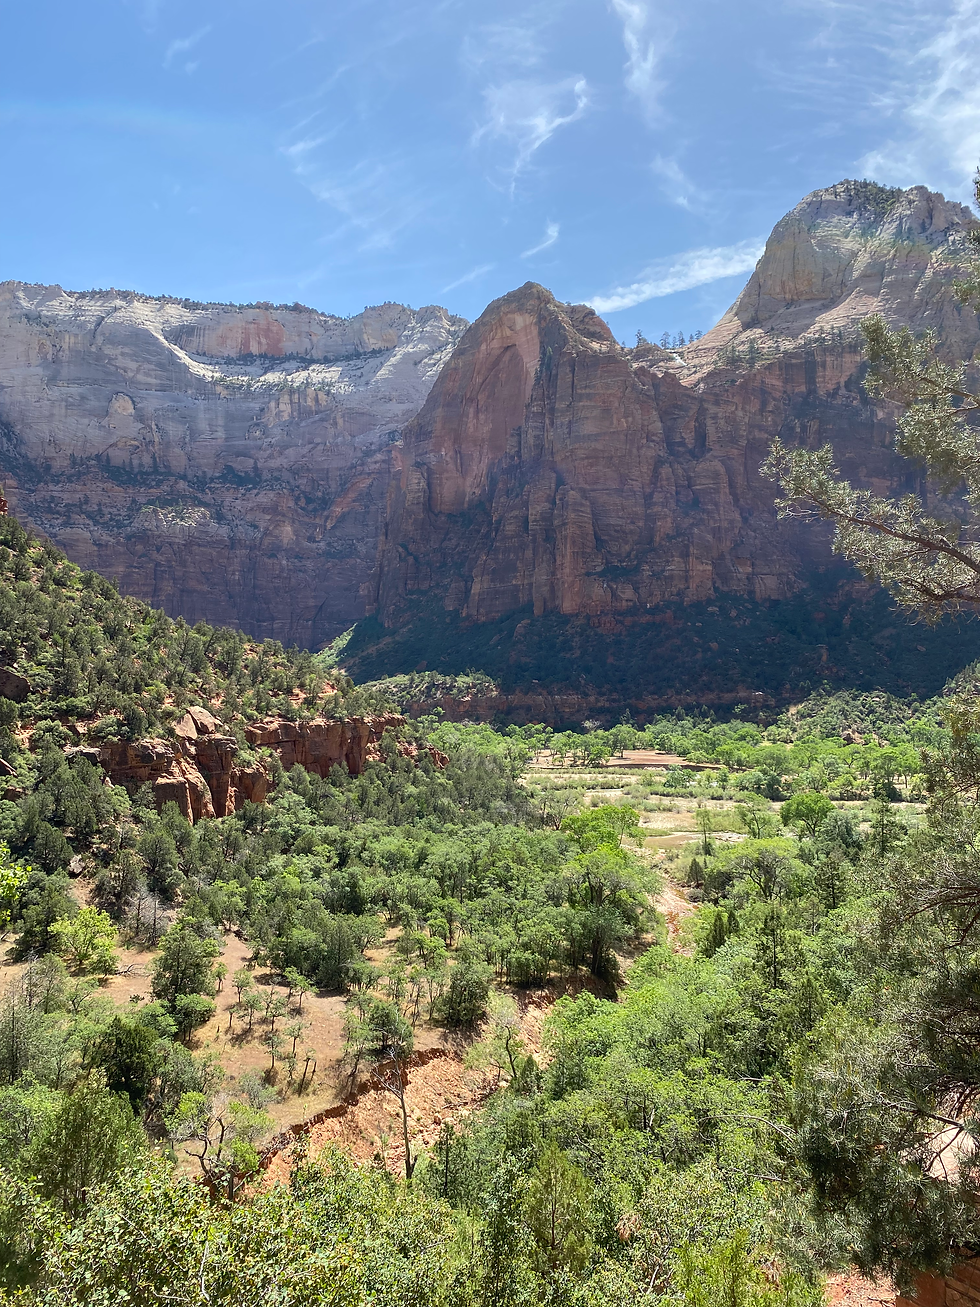
You have probably heard of Angels Landing and The Narrows, two of the most popular hikes in the Park. But there are several others that offer views that are just as beautiful. Here are my favourites.
Angels Landing and Scout's Lookout

Hiking Angels Landing, one of the most dangerous hikes in the US, is one of the main reasons people go to Zion. With the path only 1 metre wide in parts and a 1000 foot drop either side, It is not one for those scared of heights! However, its popularity means that the NPS has introduced a permit system to limit the number of people who can enter the chains section each day. Anyone can hike up to the beginning of this section, but at that point, you will be met with Park Rangers waiting to check your permit. You can apply for the Angels Landing permit in two ways:
Enter the seasonal lottery three months before your planned trip to Zion. The application fee is $6 and you will be notified of the outcome nearer the end of the month.
Enter the day-before lottery between midnight and 3pm the day before you want to hike Angels Landing. The application also costs $6 each time, and you will be notified that day whether or not you have been successful.

You can find more information and apply for your permit on the NPS website here.
Thousands of people enter the lottery every day, and even more in the high season (May-August). Only around 800 are successful. Despite trying 5 days in a row, we unfortunately were not successful in any of our applications and could not hike the chains. This shows just how lucky you have to be to get the chance!

Nevertheless, we hiked up to Scout’s Lookout (5.4 miles round trip) and were able to see Angels Landing in all its glory in Zion canyon. It is well worth doing this hike even if you don’t win your permit. It is one of the park’s most strenuous hikes with a steep uphill climb in many sections, so be prepared.
The Narrows
Hiking the Narrows was one of my favourite hikes of all time! Walking through the water surrounded by the canyon walls is an incredible experience. If you tackle the hike from the bottom-up (you need a permit to do the 2-day top-down hike), you can walk for as long as you like, and simply turn around when you are tired or don’t want to go any further!

Walking through water is obviously more challenging than walking on land, and the large stones in the river mean you are never sure of your footing. There are several places in Springdale and at the entrance to Zion which will rent you water shoes, waders, and sticks to help you on your hike. However, we walked it in our normal running trainers and were absolutely fine - the water shoes are probably a waste of money! We also did not use waders, in our opinion, part of the fun is being thigh-deep in the water and getting wet. The water is cold but you soon get used to it and it can be refreshing, especially if you are hiking in the summer months. What we were grateful for were the hiking poles. These cost just $9 from Zion Outfitters for the day’s rental, and it was completely worth it. You use the pole constantly to stabilise yourself and test how deep the water is when you can’t see the bottom. Before you head out, check the flow rate of the river, which will be written on a noticeboard near the entrance of the park. Ours was at 50 cfs, which meant it wasn’t too deep (the water never went higher than the top of my thighs - I’m 5’7” for reference!).

We walked up the river for about 3 hours before turning back. We wanted to see the famous Wall Street, the section of the hike with steep canyon walls towering over you. This was definitely worth it. Beyond that point, it remains stunning, but nothing will compare to that section. There are plenty of little beaches and rocks outside the river to stop for a break, especially if you can find one in the sun. I would dedicate a full day to this hike and start early to get to the trailhead before the crowds. It’s an easy hike if you are sure-footed as it’s all flat!
Emerald Pools
The Emerald Pools hike is a lovely trail which takes you to the lower, middle, and upper Emerald Pools. You’ll walk under a waterfall near the bottom, which is a lot of fun, and the views over the canyon as you walk up are spectacular. Don’t expect giant pools of water, though, in the summer months they will be mostly dried up! There is some significant elevation gain on this trail, but it isn’t too long (4.4 mile round trip if you hike to all of the pools), so I would put it at moderate difficulty.

Sandbench Trail
This hike is not widely visited and is mostly for horses, but gives you great views of the Zion Canyon. Because of the horses, the path is completely made of deep sand, which makes it really difficult to walk on. Needless to say your shoes will be full of sand by the end of it! The NPS website labels this as medium-level, and there isn’t a lot of elevation gain, but walking through sand for almost 8 miles is exhausting, so be prepared.

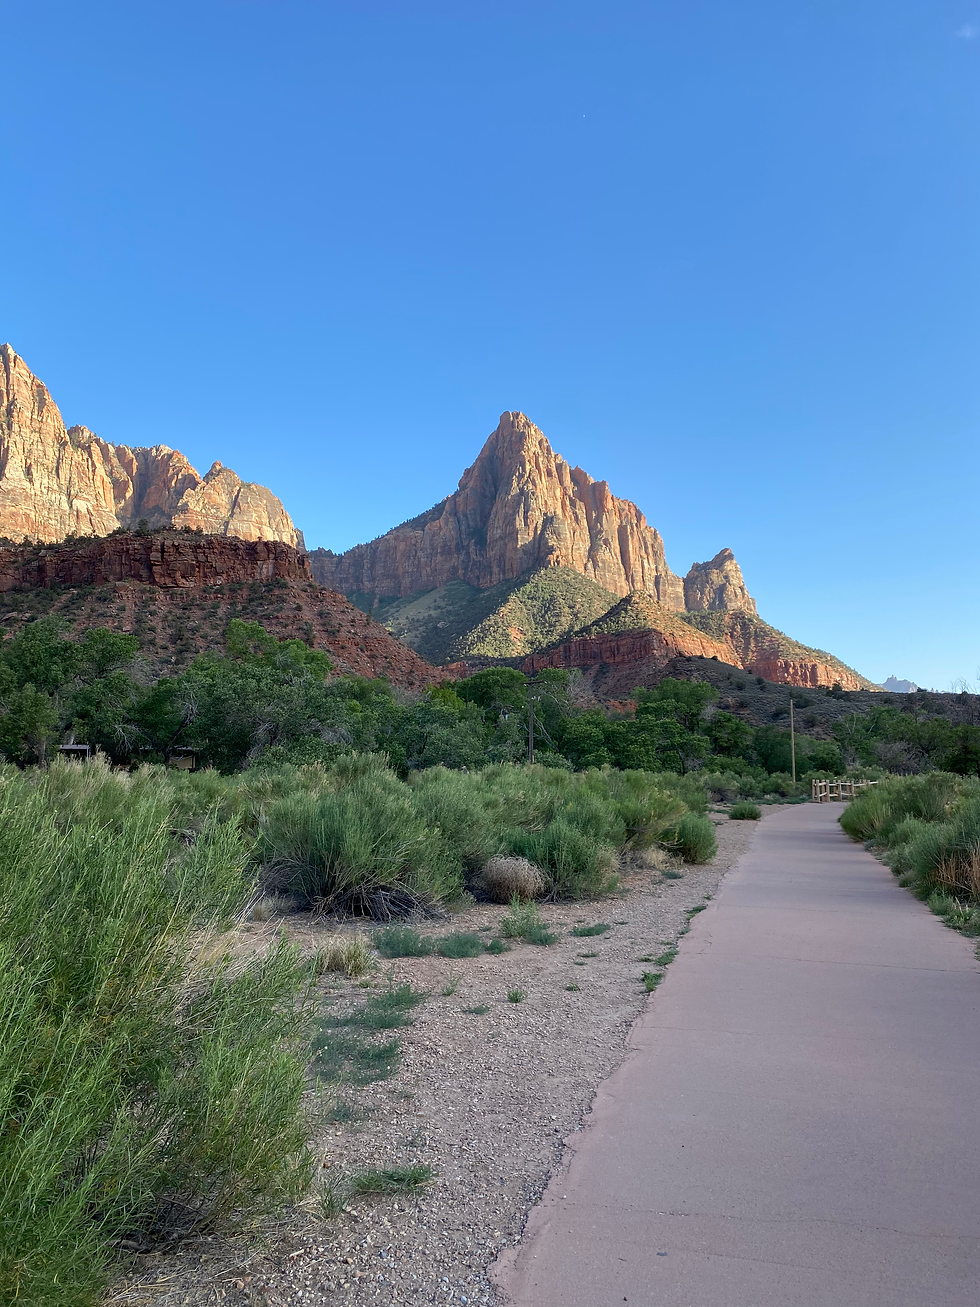
Pa’rus Trail
This is the only accessible trail in Zion, with a paved route from start to finish. While not difficult at all, it provides great views of the Canyon from the floor, and there are heaps of little paths that take you down to the river. If you walk the Pa’rus trail from Canyon Junction in the direction of the Visitor Centre, you will find yourself at a campsite on the river, with little beaches to relax at. We ended our days here every night with a picnic dinner on the river bank and a swim in the water! It is beautiful watching the sunset and enjoying the peace and quiet.

I absolutely loved Zion and agree that it is definitely worth the hype. I would go back in a heartbeat. You can’t miss this National Park on your trip in the US, and it is definitely doable without a car. I hope you enjoy it as much as I did - let me know!
Please remember when you visit any National Park (or anywhere for that matter) to Leave No Trace. Take all of your rubbish home with you and don’t take anything out of the park that belongs there.
Exploring more of the US? Check out my other guides here:


Comments